—-
= Installing Doxygen =
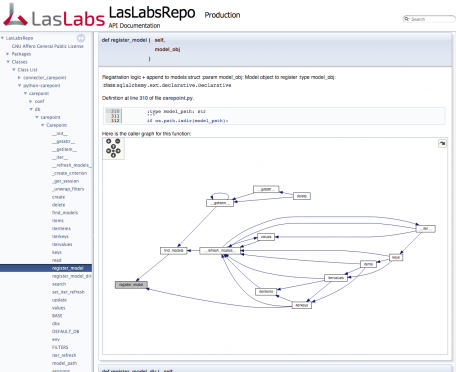
This article will walk you through the process of installing Doxygen on Ubuntu; including all dependencies required for Graphs, PDF, HTML, & LaTeX output.
# Standard procedure when beginning any software maintenance is to update your package repos and application versions (update and upgrade respectively)
{{{ lang=bash
sudo apt-get update &&
sudo apt-get -y upgrade
}}}
# Install Build dependencies
{{{ lang=bash
sudo apt-get install -y cmake flex bison
}}}
# Install Graphvix (for dependency Graph support)
{{{ lang=bash
sudo apt-get install -y graphviz
}}}
# Install LaTeX (for LaTeX, Postscript, and PDF output)
{{{ lang=bash
sudo apt-get install -y texlive-full
}}}
# Install Ghostscript (for formulas in the HTML output)
{{{ lang=bash
sudo apt-get install -y ghostscript
}}}
# Prepare & change to the working directory
{{{ lang=bash
sudo mkdir -p /usr/local/src/doxygen/ &&
cd /usr/local/src/doxygen/
}}}
# Download & unpack to the latest source distribution from the [[http://www.stack.nl/~dimitri/doxygen/download.html#srcbin|Doxygen Website]]. Current version as of writing this article (01/16/2016) is 1.8.11
{{{ lang=bash
sudo wget http://ftp.stack.nl/pub/users/dimitri/doxygen-1.8.11.src.tar.gz &&
sudo tar xf doxygen-*.tar.gz &&
}}}
# Change into the source directory & create the build directory
{{{ lang=bash
cd doxygen-* &&
sudo mkdir build
}}}
# Run cmake with the makefile generator
{{{ lang=bash
sudo cmake -G “Unix Makefiles’
}}}
# Compile the binary
{{{ lang=bash
sudo make
}}}
# Link the binary so it can be used on the path easily
{{{ lang=bash
sudo ln -s $(pwd)/bin/doxygen /usr/local/bin/
}}}
# Verify that doxygen is in `/usr/local/bin`
{{{ lang=bash
$ which doxygen
/usr/local/bin/doxygen
}}}
For more information, see the [[https://www.stack.nl/~dimitri/doxygen/manual/index.html|Doxygen Manual]]

Leave a Reply